I always wanted to create a Science Fiction concept art in Blender 3D. I’m not familiar with making concept arts but I’ve seen many in websites like Artstation and Instagram. Beeple works are my inspiration and the reason I started this project. It’s really amazing how he plays with size differences in his arts. For example there’s a giant robot that covers most part of the image and then there’s a human standing at the foot of the robot, looking up at the face. I think it is such a different level of creativity to build a world that doesn’t even exist. Well, it exists only in your head and you need to find a way to describe it. Some people use texts to describe their imagination, like writing a book and some people illustrate it on screen or paper. Concept artists usually illustrate ideas so we know how it would look like if they make movies, animation or video games out of it. Most concept artists paint it digitally or plan out the scene in 3D then paint over it. Even though it doesn’t have to be a full illustration, my concept art looks polished and done! Well, it’s my first try.
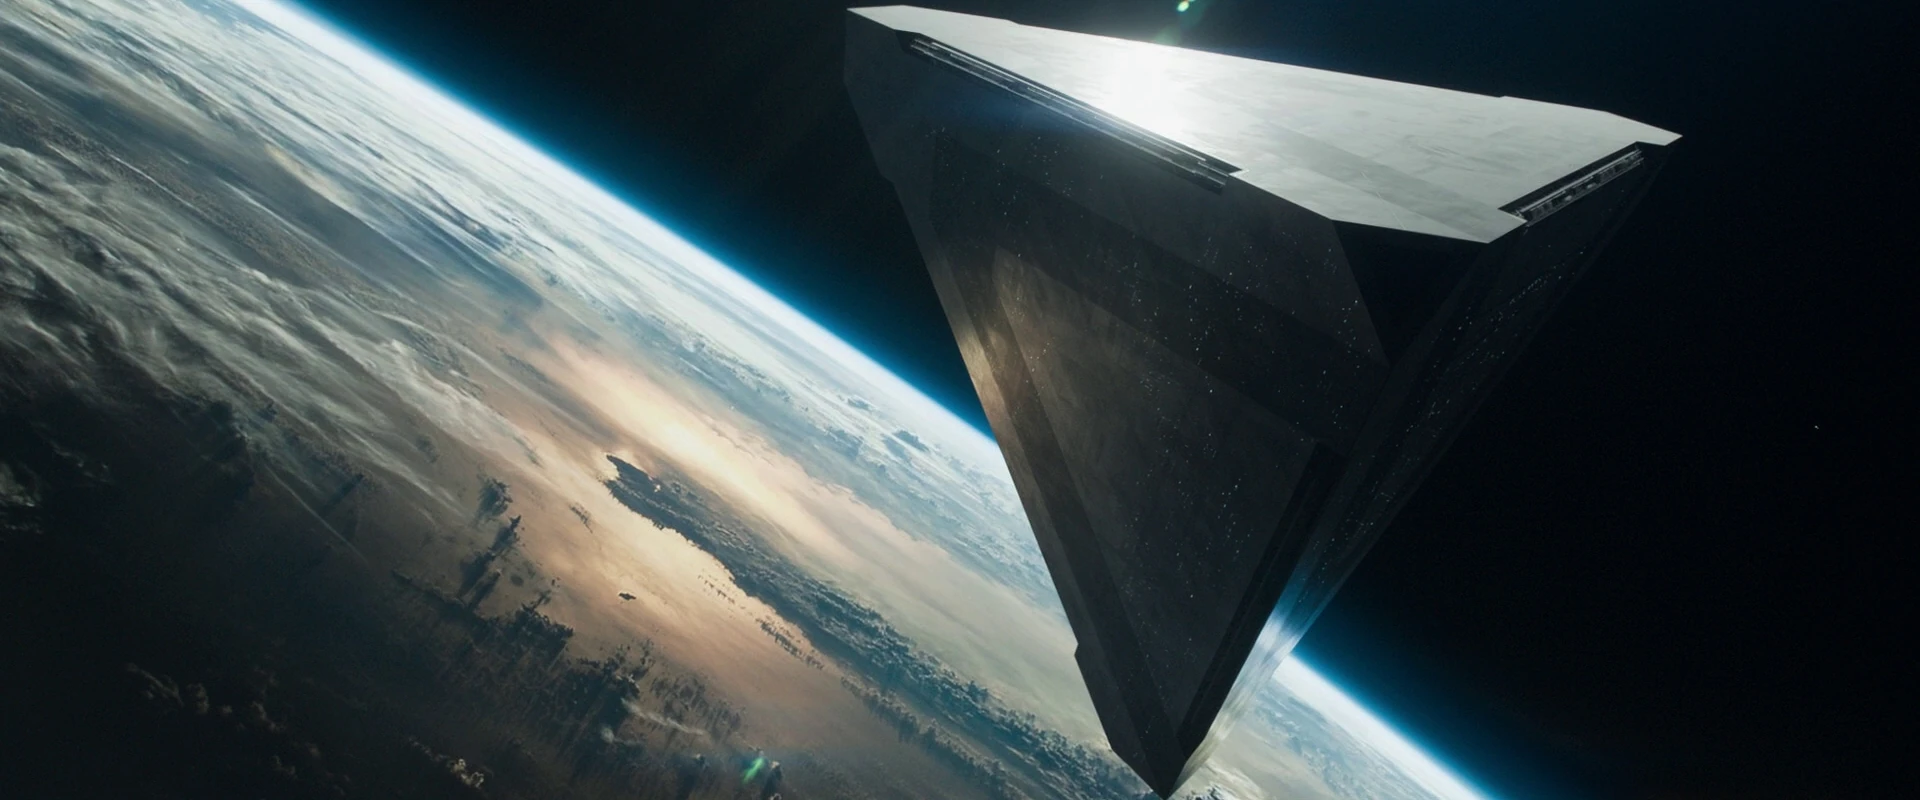
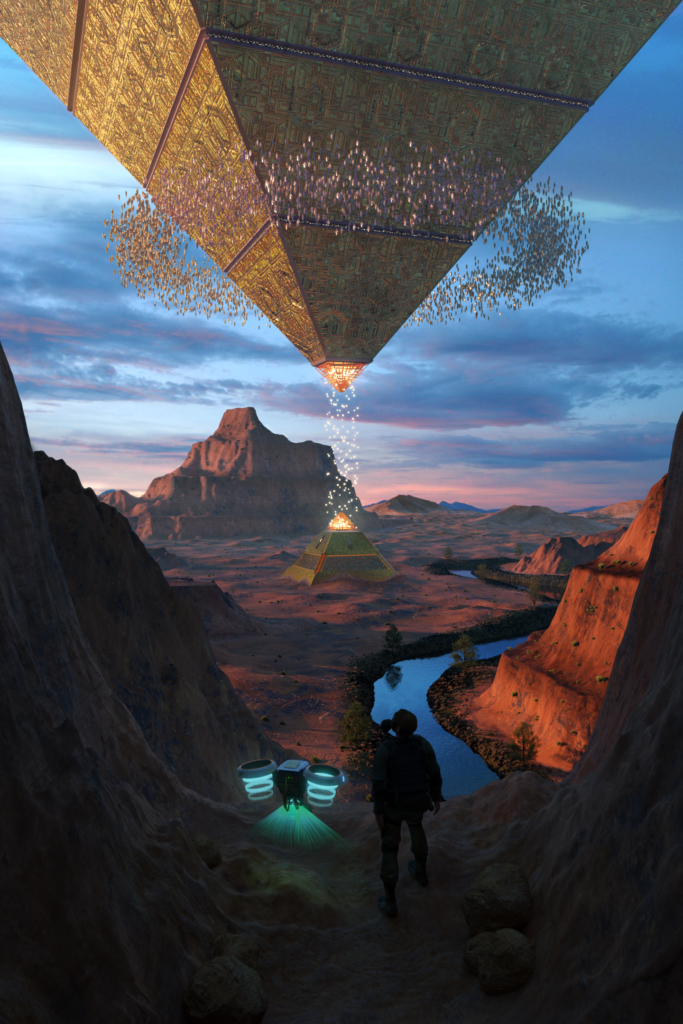
I can say this is my first time trying science fiction artwork. I did a fantasy scene in 2016, but not a sci-fi that involves robot and alien. I was mostly inspired by Oblivion movie. In this movie there is a big alien spaceship named Tet. It’s pretty big and shaped like an upside down pyramid. I modelled and textured a pyramid shape space object, hovering above the ground and another piece buried on the ground. In this movie the main character whose played by Tom Cruise has a bubleship. I wanted to create a vehicle like a bike for my character but I chose to build a robot companion. I modelled and textured a robot based on a few reference images. I aimed to create a robot to be a tool and excavator for the character. I gave it a few features to make it obvious it’s a robot drone from future, like anti-gravity rotor to float in the air and scanner to scan the surrounding. I decided to make the environment look apocalyptic and deserted (same as the movie). The ground and canyons were generated by a Blender addon called “Landscape”. I mixed rough terrains, mountains and canyons to create the environment. Also the character was generated by Adobe Fuse and later uploaded and rigged in Mixamo.

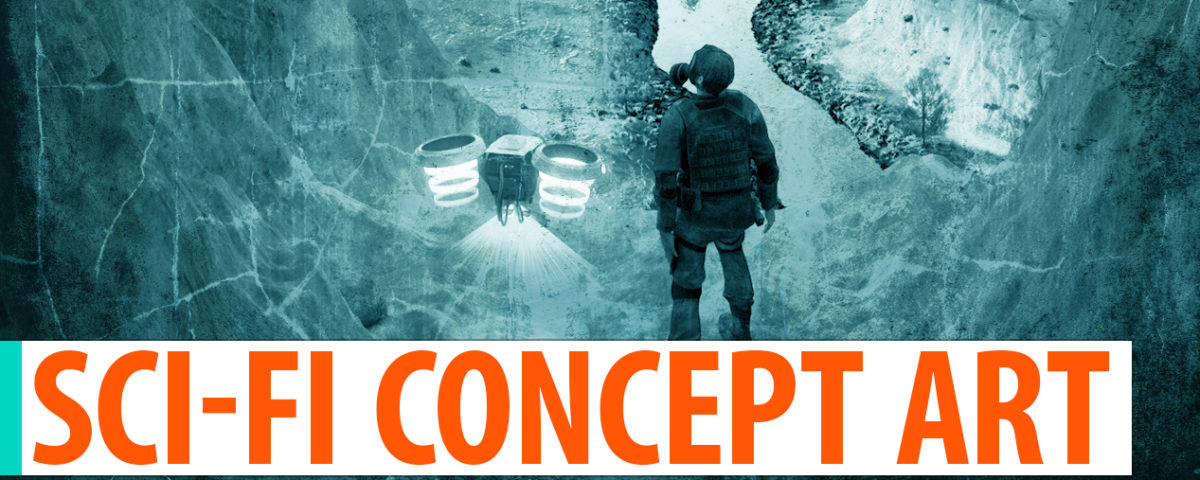
Talking about the character in my render, I think he has his own story. He’s dressed very tactical with a bullet proof vest and side arm pistol. When I generated this character in Fuse I chose gears from a SWAT character, because I was looking for someone that can fight aliens. Since it’s apocalypse I wanted his gears to look rough and scuffed so I painted over the UV textures in Photoshop. I overlaid some textures and painted dust around the fold and seams. First I picked a gas mask when I created him but later I didn’t think if he needs one, because there’s a running river and green trees. The air looked fresh and not apocalyptic enough. Anyway, I think he still has his own unique story. His story can happen in future when the earth is in its most vulnerable state and he is the person looking for this alien spaceship with a robot-drone companion. This alien structure can take resorts and energy off of the earth. In this story he only knows how to take down this big structure.
Story was not the only thing I was aiming for when I first created this. The aesthetic and layout were also important for me, which I don’t think I nailed it. The size difference is good. You can see the alien ship expands off the screen, but the environment looks small and objects are close together. For example trees , river and canyons are placed close by. The colour management is off. There is warm colour and cool colour mixed together. If I make another one I should plan out the colour theory first. I should have made sand stormy weather so the background would be orange and yellow (warm colours), and foreground grey and blue (cool/neutral colours). I made some wrong decisions when I worked on this project, but I made one smart decision. Since the environment was big and it was eating my laptop’s memory I divided this scene into four sections – background, middle ground, foreground and focal point. So, basically I worked on four different .blend file. Background is the mountains on the horizon, middle ground is the ground and river, foreground is the character and robot on the ledge of canyon, and finally the focal-point which is the alien spaceship plus that buried piece. Later when I rendered them all I composed them in Photoshop. To be honest It’s kind of complicated for you readers … and that’s why I made a breakdown video. You can scroll down and watch the video down below.

