It’s really interesting to build up an idea from a random thought to an actual thing! There are many steps behind creating a scene in 3D. From a messy sketch on sketchbook to a 200 MB Blend file takes so much sweat and tears, but at the end it’s really rewarding and makes you feel powerful.
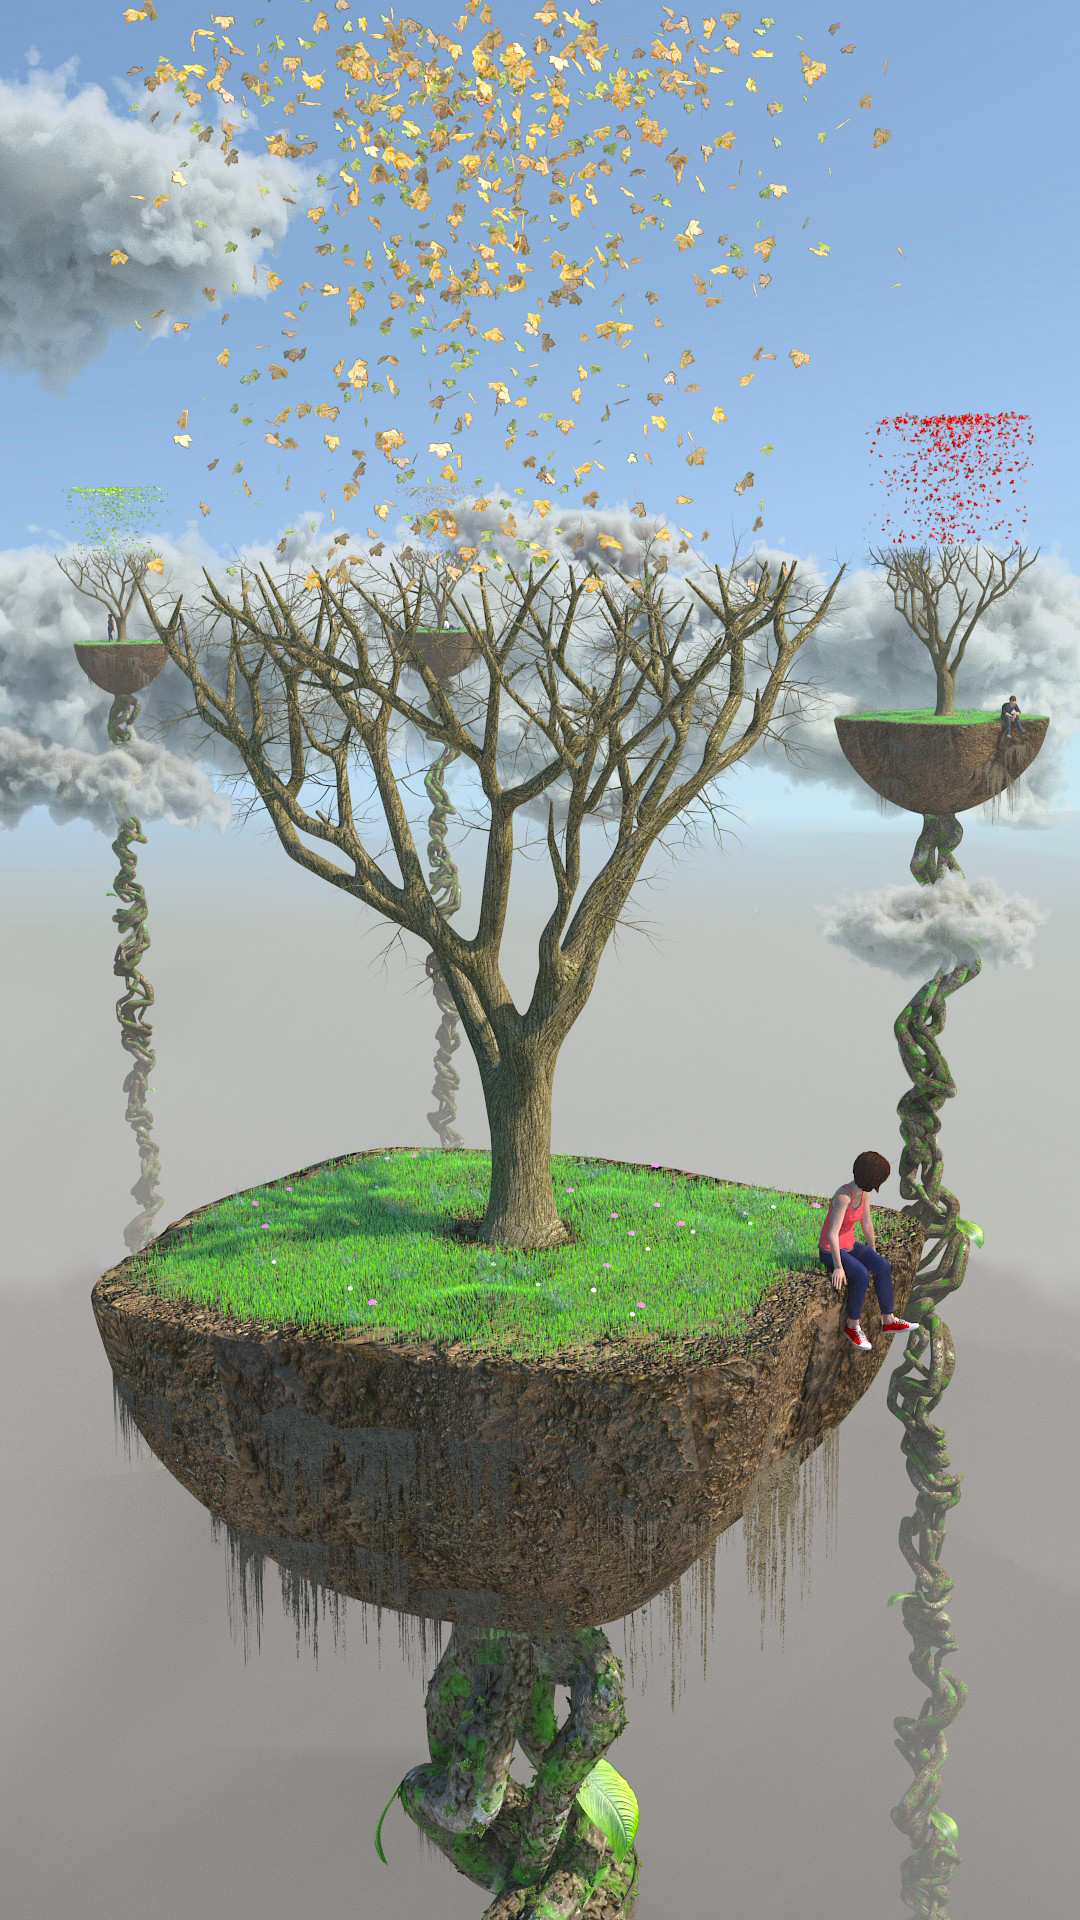
I made this 3D scene in Blender software. Clouds and grass particles are from Blend Swap website and character models are made with Adobe Fuse. I modeled the rest, like trees and hovering ground pieces in Blender Software.
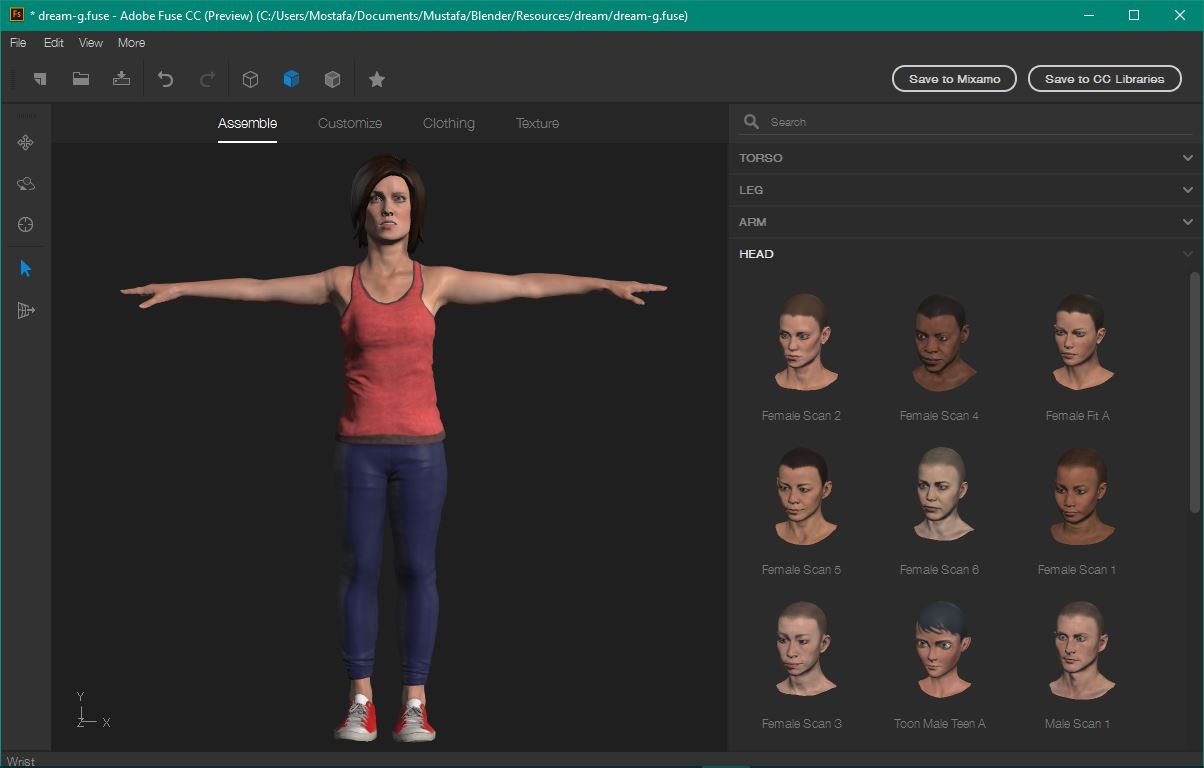
I have to say Adobe Fuse made me really impressed. By the way it was my first time trying this new Fuse and I have to admit it made my scene alive and fresh. Since I’m not great at character modeling and rigging, Fuse made it so easy to me. All I had to do was to create my model by choosing some presets that was already in Fuse, such as how should the character look and even choosing the type of clothes. After that I have the option to save it to cloud and use it in Photoshop or export it to Mixamo. Since I wanted to use the models in my 3D scene I had the option to export it to Mixamo. This website has a great feature that you can rig your models automatically, so you can save extra sweat and tears. After downloading your model and importing it to Blender, it comes with some issues. First thing, the texture is not set to cycles engine, so I had to redo the texturing and good news, all textures and normal maps come along with the package. Second problem is with the keyframing, because it comes with a hidden t-pose keyframe, so I had to insert a new keyframe after applying the pose.

Overall, Adobe Fuse is a great tool to insert a character into an artwork even though if there is a lack of understanding rigging and modeling. I think Adobe should continue on developing this software further more. They should add even more customization and rigging ability in Photoshop. Anyway, here is my final rendered scene. For more 3D renders check my Deviant Art.


